File list
From Xen
Jump to:
navigation
,
search
This special page shows all uploaded files.
File list
Items per page:
20
50
100
250
500
Search for media name:
Username:
Include old versions of files
First page
Previous page
Next page
Last page
Date
Name
Thumbnail
Size
Description
Versions
12:34, 17 April 2017
Figure 55 - Select prepare option.png
(
file
)
4 KB
1
12:55, 17 April 2017
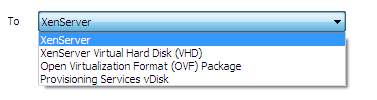
Figure 94- “To” options.png
(
file
)
5 KB
1
12:41, 17 April 2017
Figure 71 - main window strip.png
(
file
)
5 KB
1
12:32, 17 April 2017
Figure 49- Select the prepare option.png
(
file
)
6 KB
1
12:34, 17 April 2017
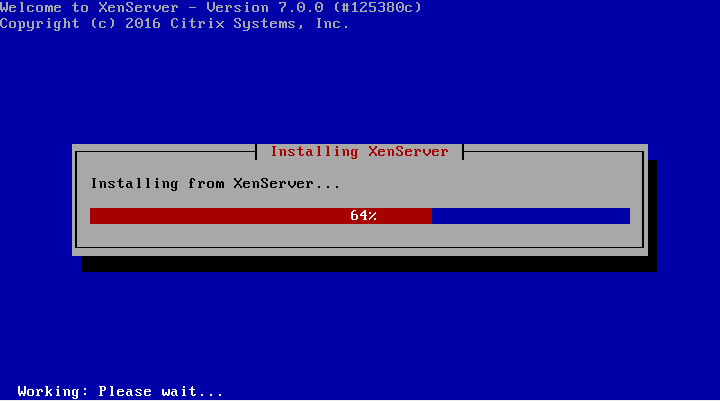
Figure 54 - XenSever installation.png
(
file
)
6 KB
1
12:34, 17 April 2017
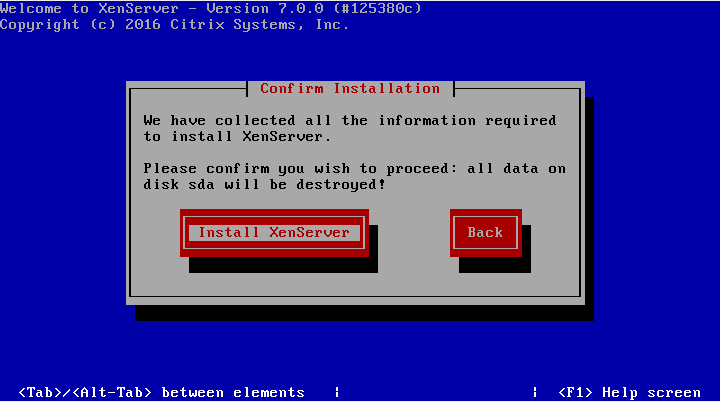
Figure 53 - Select “Install XenSever” to start installation.png
(
file
)
6 KB
1
12:33, 17 April 2017
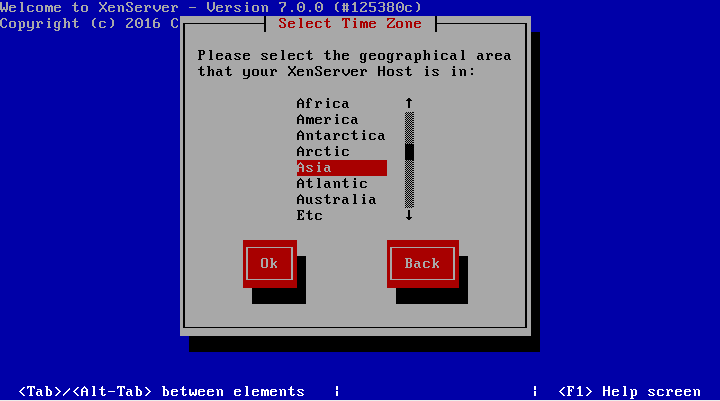
Figure 52 - Select correct Time Zone.png
(
file
)
7 KB
1
12:47, 17 April 2017
Figure 66- .ISO file.png
(
file
)
7 KB
1
12:33, 17 April 2017
Figure 50 - Set “root” password.png
(
file
)
7 KB
1
12:33, 17 April 2017
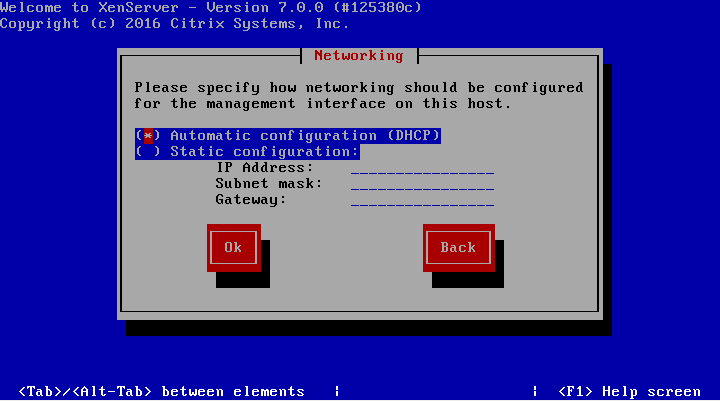
Figure 51 - Select the prepare option for obtain the IP address.png
(
file
)
7 KB
1
12:59, 17 April 2017
Figure 99 - Format Virtual Partition.png
(
file
)
8 KB
1
12:43, 17 April 2017
Figure 76 - Memory setting..png
(
file
)
9 KB
1
12:43, 17 April 2017
Figure 75 - Change VCPU.png
(
file
)
9 KB
1
10:49, 15 April 2017
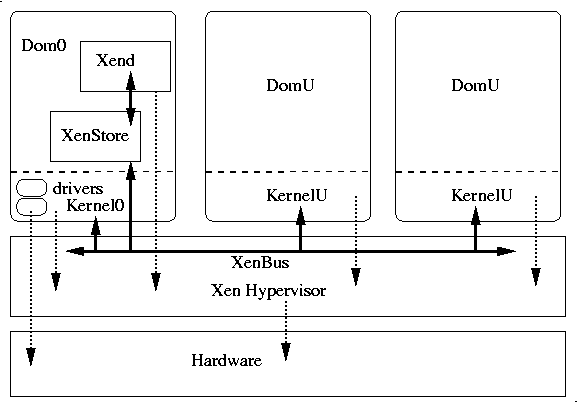
Figure 10- A simple overview of Xen Architecture.png
(
file
)
10 KB
1
12:44, 17 April 2017
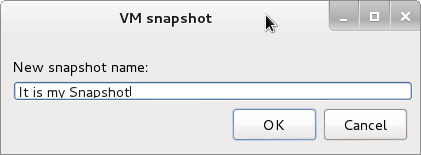
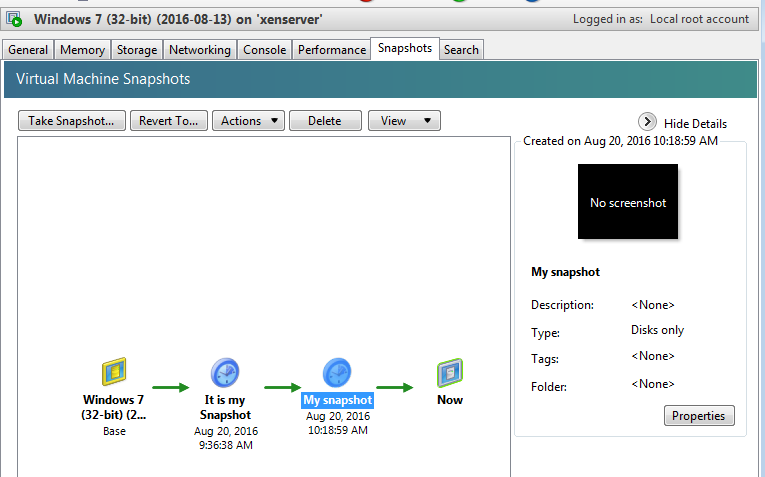
Figure 79- VM Snapshot.png
(
file
)
11 KB
1
12:36, 17 April 2017
Figure 60- XenCenter.png
(
file
)
11 KB
1
12:35, 17 April 2017
Figure 56- XenServer is ready to use.png
(
file
)
11 KB
1
12:48, 17 April 2017
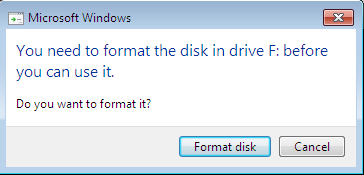
Figure 82- Warning Message.png
(
file
)
12 KB
1
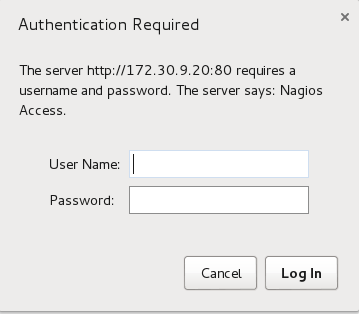
13:00, 17 April 2017
Figure 102 - Nagios logging.png
(
file
)
12 KB
1
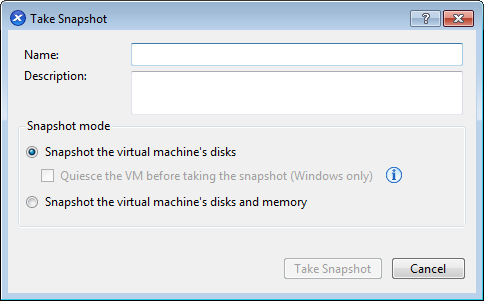
12:48, 17 April 2017
Figure 83- Take Snapshot Window.png
(
file
)
14 KB
1
12:41, 17 April 2017
Figure 70- “Start” button.png
(
file
)
15 KB
1
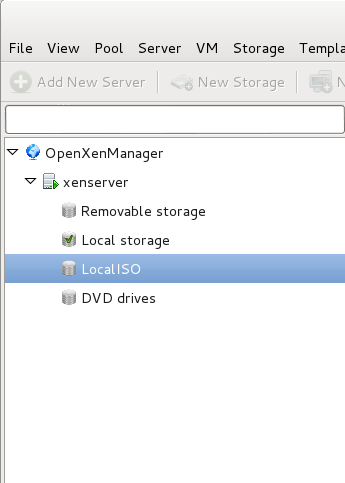
12:38, 17 April 2017
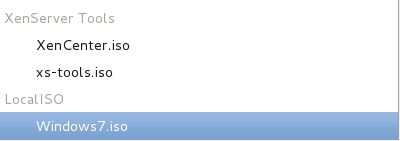
Figure 65- Local ISO.png
(
file
)
19 KB
1
11:55, 15 April 2017
Figure 26- vgcreate.png
(
file
)
19 KB
1
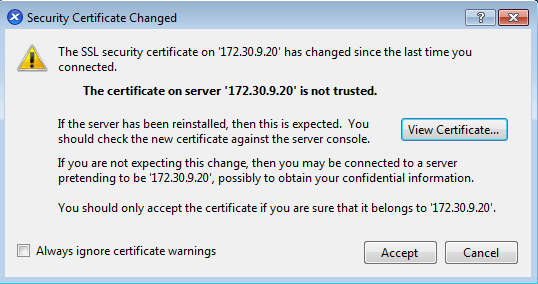
12:37, 17 April 2017
Figure 61- XenCenter security warning.png
(
file
)
19 KB
1
10:56, 15 April 2017
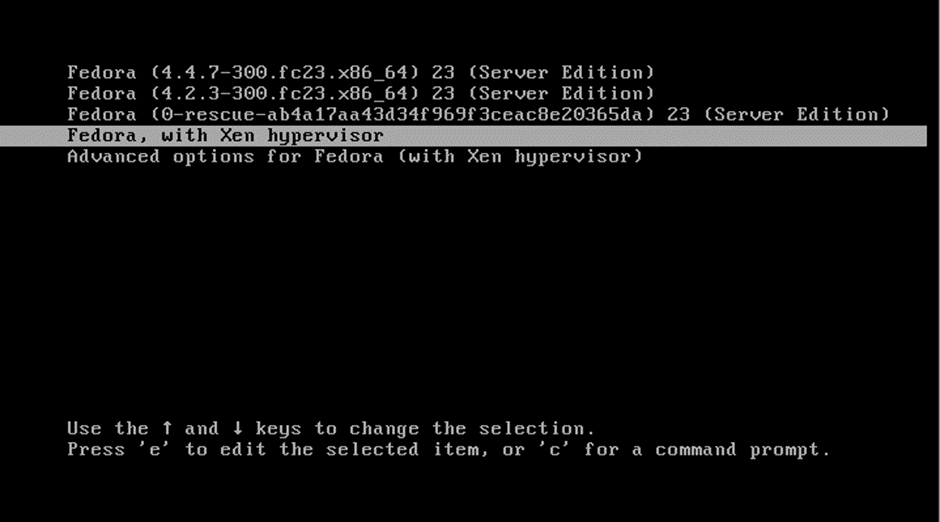
Figure 13 - Grub with Xen Hypervisor.png
(
file
)
26 KB
1
11:56, 15 April 2017
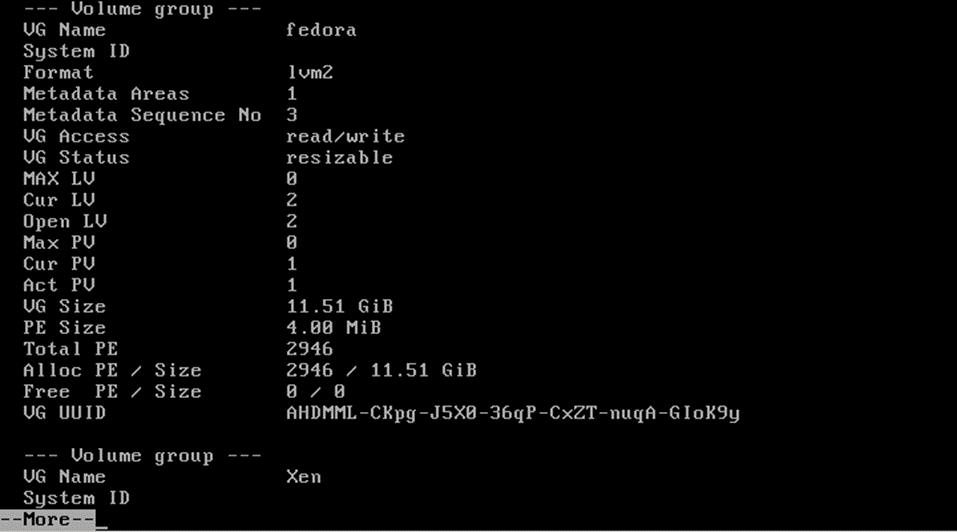
Figure 28- vgdisplay-1.png
(
file
)
27 KB
1
12:36, 17 April 2017
Figure 59- Open XenManager.png
(
file
)
27 KB
1
11:54, 15 April 2017
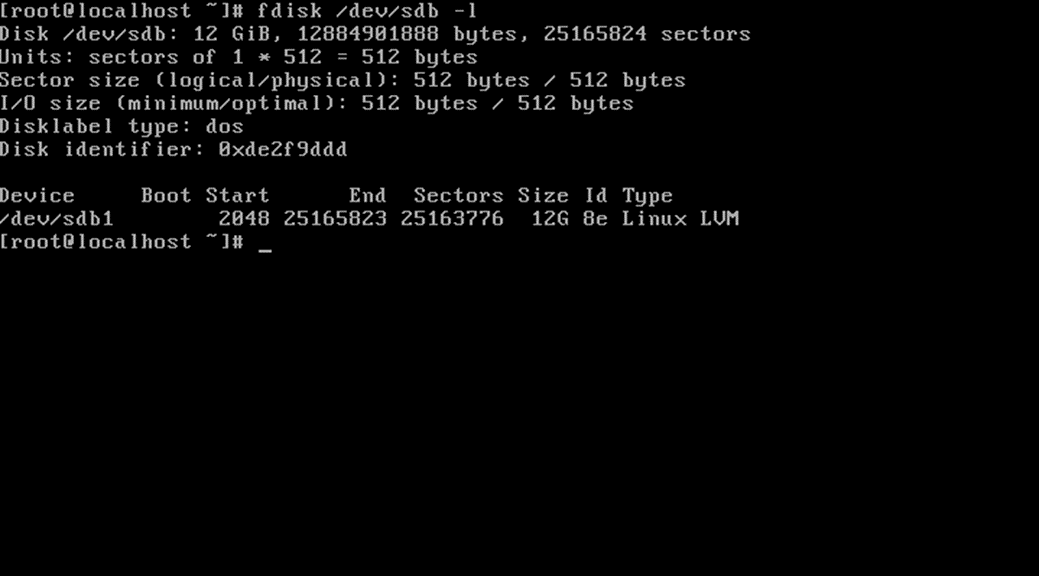
Figure 25- fdisk -l.png
(
file
)
28 KB
1
12:48, 17 April 2017
Figure 81- Snapshot Diagram.png
(
file
)
29 KB
1
11:53, 15 April 2017
Figure 24- fdisk.png
(
file
)
31 KB
1
12:42, 17 April 2017
Figure 73- General tab.png
(
file
)
31 KB
1
12:54, 17 April 2017
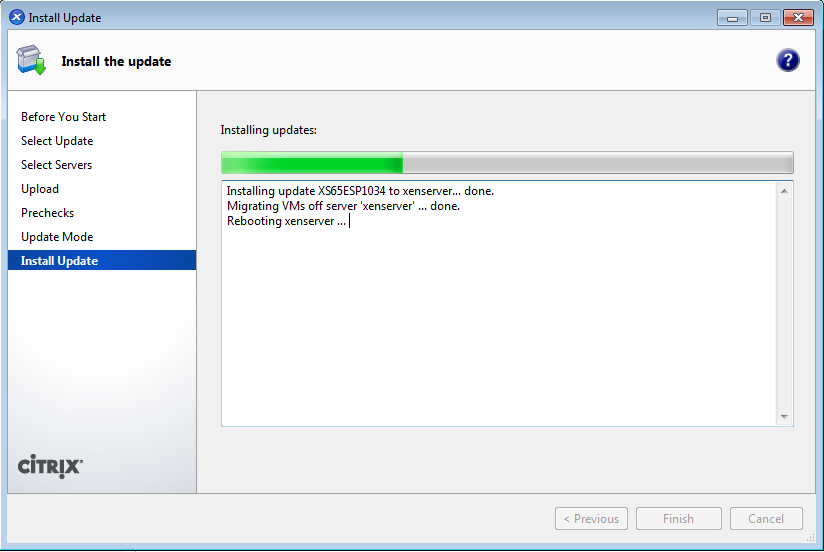
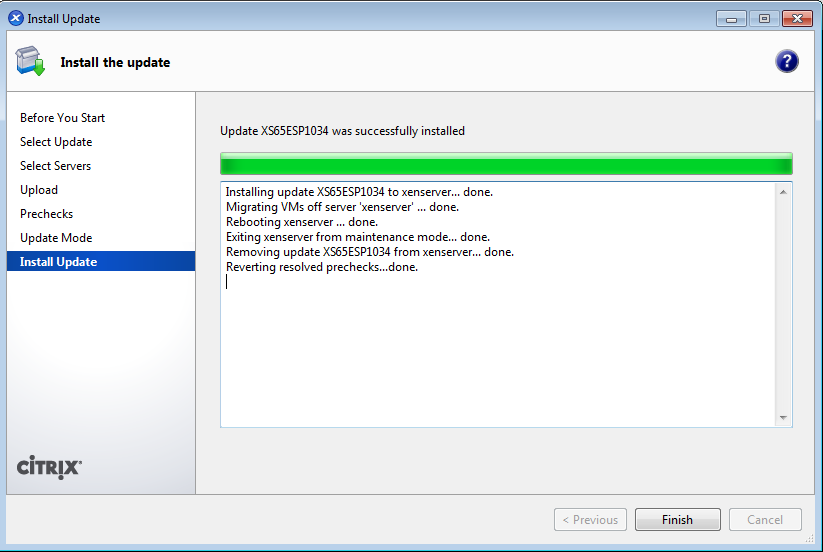
Figure 91- Installing update.png
(
file
)
32 KB
1
12:43, 17 April 2017
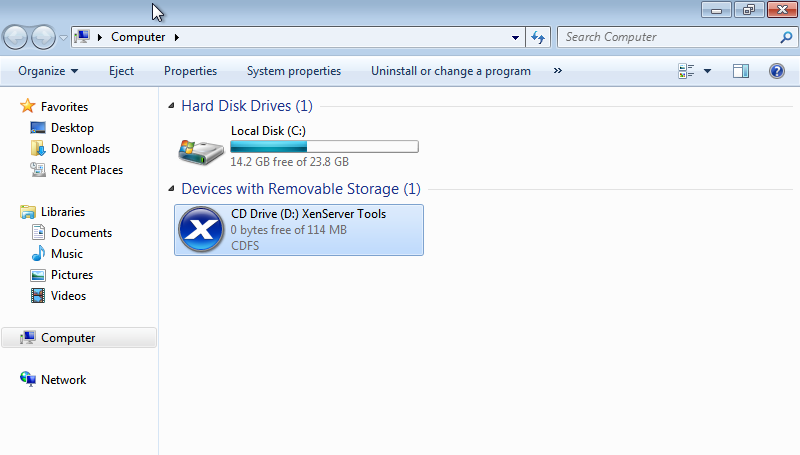
Figure 77 - Removable storage.png
(
file
)
33 KB
1
11:57, 15 April 2017
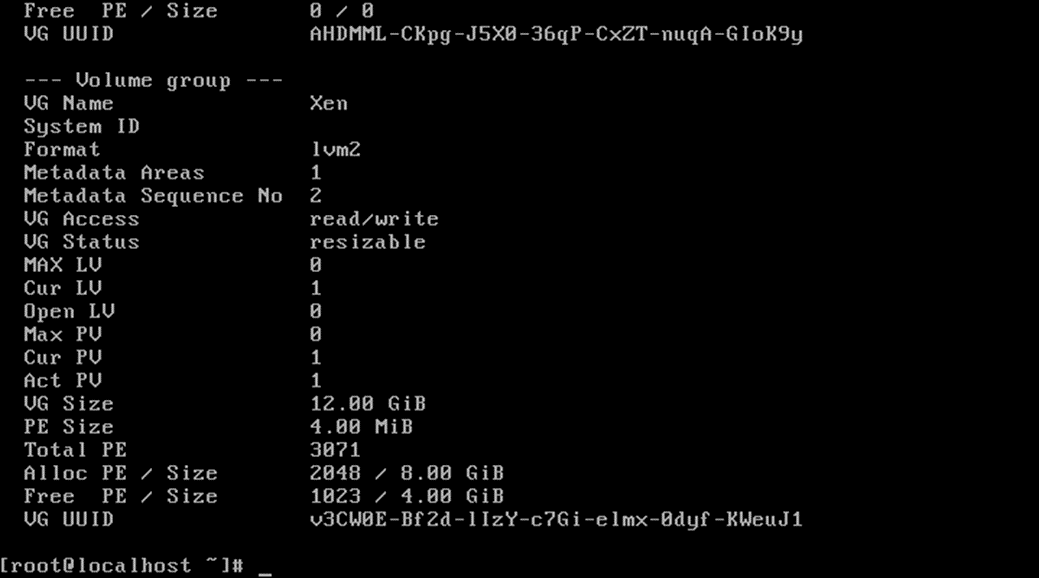
Figure 29- vgdisplay-2.png
(
file
)
33 KB
1
12:45, 17 April 2017
Figure 80- Snapshot created.png
(
file
)
33 KB
1
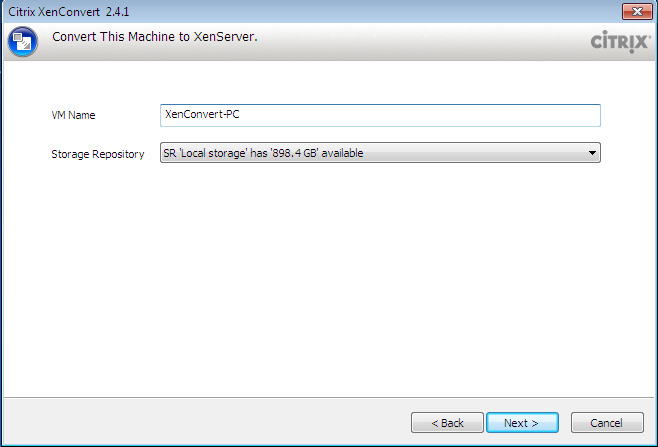
12:56, 17 April 2017
Figure 97 - Select “VM Name” and “Storage Repository”.png
(
file
)
33 KB
1
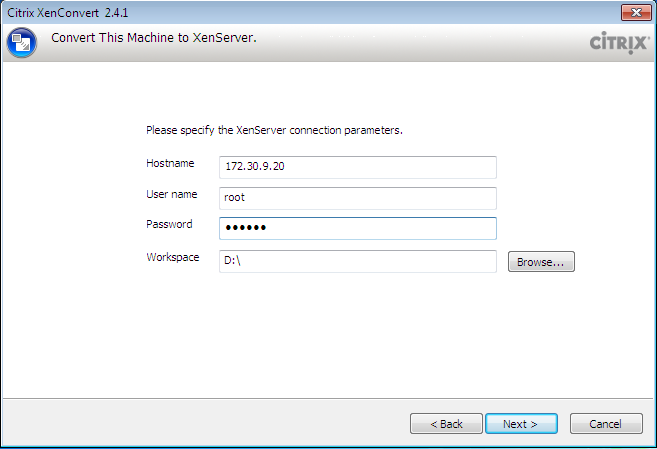
12:56, 17 April 2017
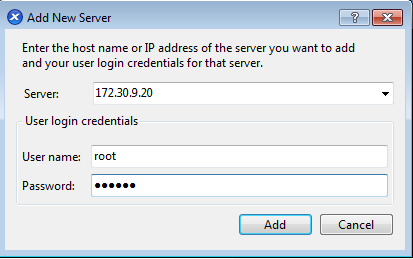
Figure 96 - provide XenServer information.png
(
file
)
34 KB
1
12:40, 17 April 2017
Figure 69- Storage tab.png
(
file
)
34 KB
1
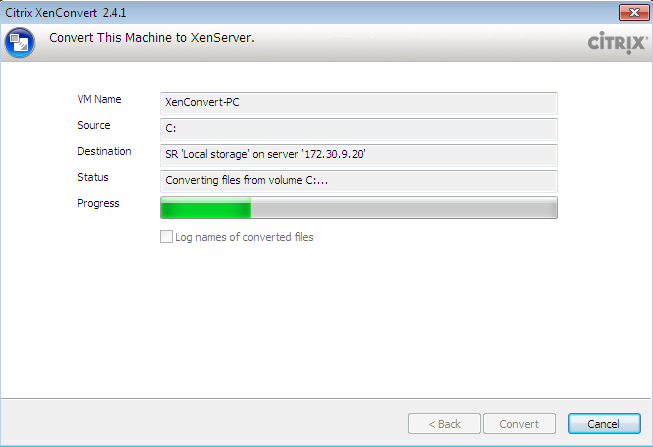
12:59, 17 April 2017
Figure 100- Converting started..png
(
file
)
34 KB
1
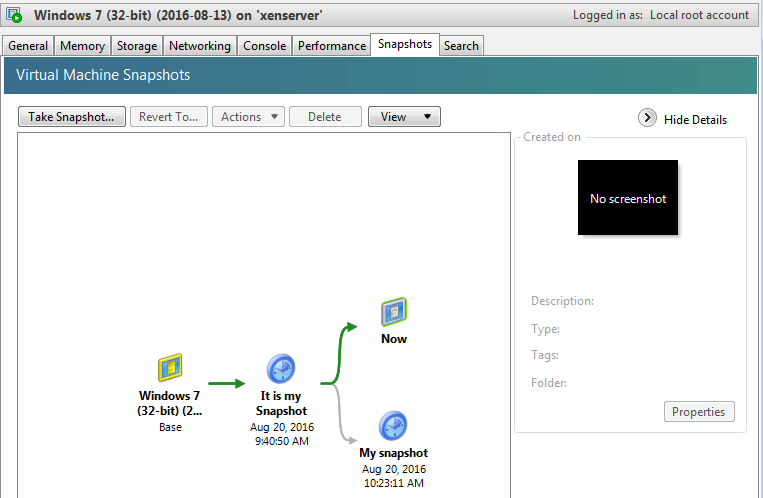
12:49, 17 April 2017
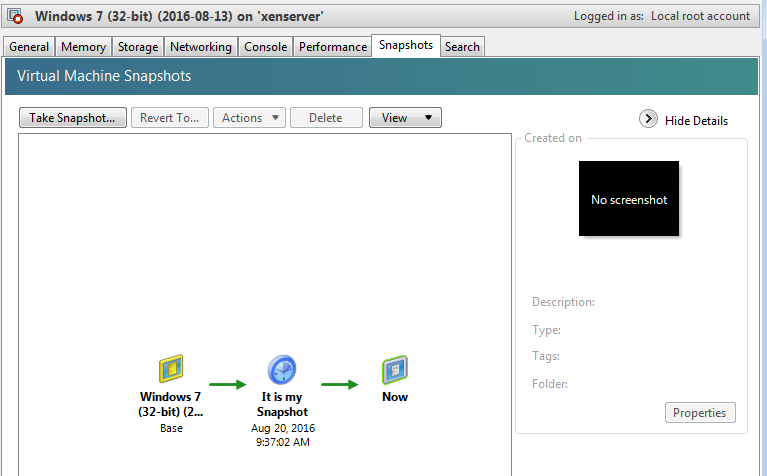
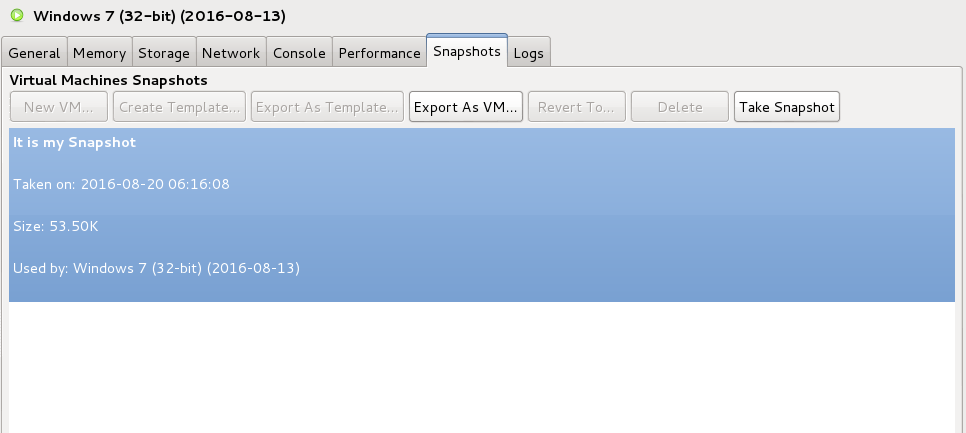
Figure 84 - XenCenter Snapshots tab.png
(
file
)
35 KB
1
12:49, 17 April 2017
Figure 85- Back to “My snapshot”.png
(
file
)
35 KB
1
12:54, 17 April 2017
Figure 92- Update applied.png
(
file
)
36 KB
1
12:50, 17 April 2017
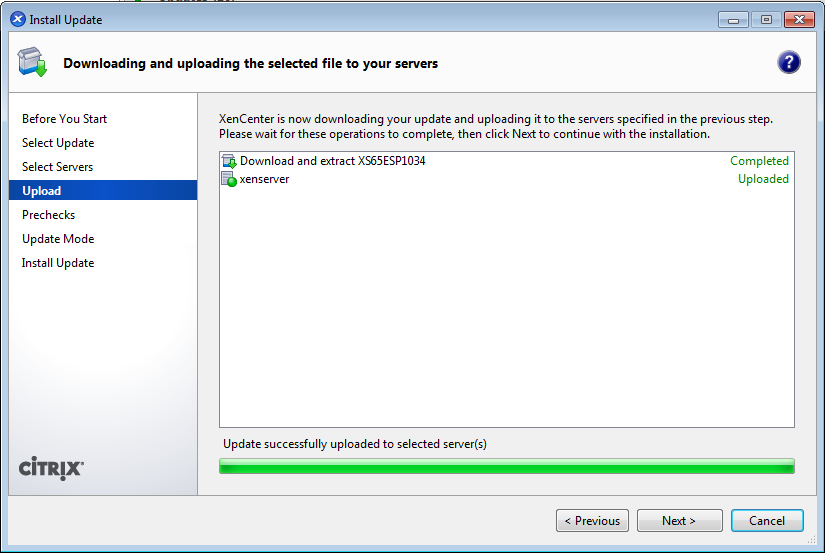
Figure 88- Download completed.png
(
file
)
36 KB
1
12:44, 17 April 2017
Figure 78 - USB Pass-through.png
(
file
)
38 KB
1
12:51, 17 April 2017
Figure 89- Checking Server.png
(
file
)
38 KB
1
12:49, 17 April 2017
Figure 86- Update.png
(
file
)
41 KB
1
12:42, 17 April 2017
Figure 74- Install XenServer Tools.png
(
file
)
42 KB
1
12:40, 17 April 2017
Figure 68- specific the correct path.png
(
file
)
42 KB
1
12:51, 17 April 2017
Figure 90- Ready for install the update.png
(
file
)
45 KB
1
11:56, 15 April 2017
Figure 27- lvcreate.png
(
file
)
45 KB
1
First page
Previous page
Next page
Last page
Navigation menu
Views
Special page
Personal tools
Log in
Search
WIKI GUIDE
Wiki Guide
Set up Search
NAVIGATION BY INDEX
Main
Index Guide
All Categories
All Pages
Recent Changes
NAVIGATION BY AUDIENCE
Beginners
Users
HYPERVISOR & TOOLS
Xen Project Developers
Windows PV Drivers Developers
XAPI Developers
EMBEDDED/AUTOMOTIVE
Embedded and Automotive
FuSa
FuSa SIG
Xen ARM
UNIKERNELS
Unikraft Developers
MirageOS Developers
COMMUNITY
Project
Community
NAVIGATION BY DOC TYPE
Manuals
Overviews
FAQs
HowTos
Tutorials
Example
Compatibility
Glossary
Index Pages
NAVIGATION BY TECHNOLOGY
Xen Project Hypervisor
Xen ARM
Unikraft
MirageOS
PVOPS (in Linux Kernel)
Unikernels
INTERACTION
Help
Wiki community
Manage Wiki
Recent changes
Tools
User contributions
Logs
View user groups
Special pages


